|
A common question I get asked from composers to music students exploring the various options for music notation software is, “Which one is the best?” Well…. I would guess all of us have certain opinions in the music engraving world, but I think the better question may be, “Which one is best for me?” To explore this a bit more, let’s take a look at the current state of music notation software and how we got there. The art of music engraving has undergone vast changes in the last 30 years. Like most of society, the digital revolution and the age of the personal computer completely upended how we work and what functions and capacities are available to the average person. What once took a team of people all day to do might only take one person a few minutes now. Music engraving got into the digital age with programs like Finale and Sibelius, both of which started to appear in the late 1980s. Since then, there have been several other digital music notation options like Musescore, Lilypond and most recently (and successfully) Dorico, along with various apps for the iPad (like NoteFlight and StaffPad and others) have come on the scene. Finale and Sibelius have, and mostly still do, dominate the music engraving and educational markets while other options have largely remained as niche options of individual composers. However, these other options are now making great strides in their capabilities and ease of use, making them viable options not only for independent composers and arrangers, but even for major scoring sessions. When I get asked the question of “Which notation software should I use?”, my first response is always a question of my own, “Well, what will you be using it for?”. This question is, to me, the REAL question to ask yourself if you are looking into the various notation software options. Knowing where you dream of your music going or what part of the music industry you want to get into may affect your choice. For example, if you are an independent composer/arranger or even a music teacher, writing simple pieces for a few instruments or musical exercises for your students, then just about any option will work fine. I would suggest using any of the iPad apps as the learning curve for those is likely to be manageable and you won’t have too many options or menus to get lost in. Also, Finale, Sibelius and Dorico all have a free version of their notation software which may have all the various options and functions you could need. There’s no real need for a major investment in time and money if your notation needs are very “local”, meaning the music will be produced and distributed largely by you and just for you or a few others or simplistic, meaning you are not writing avant-garde new age music for specialized instruments. Where things get a bit more complicated is when your aim is for a larger market OR a larger project. The free versions of these different softwares will be limited in the number of staves or other functions they have and if you have a larger work, they simply won’t be able to handle that. Also, if you plan on working with a publishing company or even just other arrangers or composers on a given project, it’s best to choose a software that will grow with you and be able to be used by others seamlessly as well. This is where the full versions of Finale, Sibelius and Dorico, I feel, are the most appropriate. There’s no point using a software that won’t have the capabilities you’ll need down the road. So now you may ask, “Ok, I need a full featured music notation software. Which one should I choose?” For years, the “big 2” options were Finale and Sibelius. In professional and educational circles, one or the other has been used for decades. Using either one of these options will give you all the functionality and capacities you could ever need (and many that you’ll probably never use). I would also add Dorico to this list. Being, relatively, the newest kid on the block in the music notation world, Dorico has had some growing pains and, quite frankly, it really wasn’t ready for the big time when it first came out over five years ago. Now, I truly believe Dorico is not only a viable option, but one that offers some of the most forwarding thinking functionality and ease of use features. I still don’t see Dorico being used in my end of the music engraving world as much as Finale or Sibelius, but it is certainly gaining ground on both. Professionally, I have used Finale and Sibelius for over 16 years and am looking to add Dorico into the available options here are Engraver’s Mark Music in the coming months. My final piece of advice is, choose an option that fits your needs now but can grow with you in the future. If I was starting from scratch today, I would try to learn with each of the free versions of Finale, Sibelius or Dorico and then see which one felt most natural and go with that. If you’re an independent composer or arranger, there are so many options out there now, and even better, there are so many good options that weren’t available before. Personally, I used Finale before I learned Sibelius and I still tend to gravitate that way at times. However, there are long stretches of projects where I am primarily using Sibelius, by my choice or because the client works in that program, and I come to find I enjoy using it as much if not more than Finale. Again, all these different music notation programs have their advantages and disadvantages; things that drive us nuts and features that are lifesavers. The best option for you is the one that makes creating your music as seamlessly as possible. If you have any questions or thoughts on this, please contact Engraver’s Mark Music and let’s see how we can guide you and help get your music out to the world! 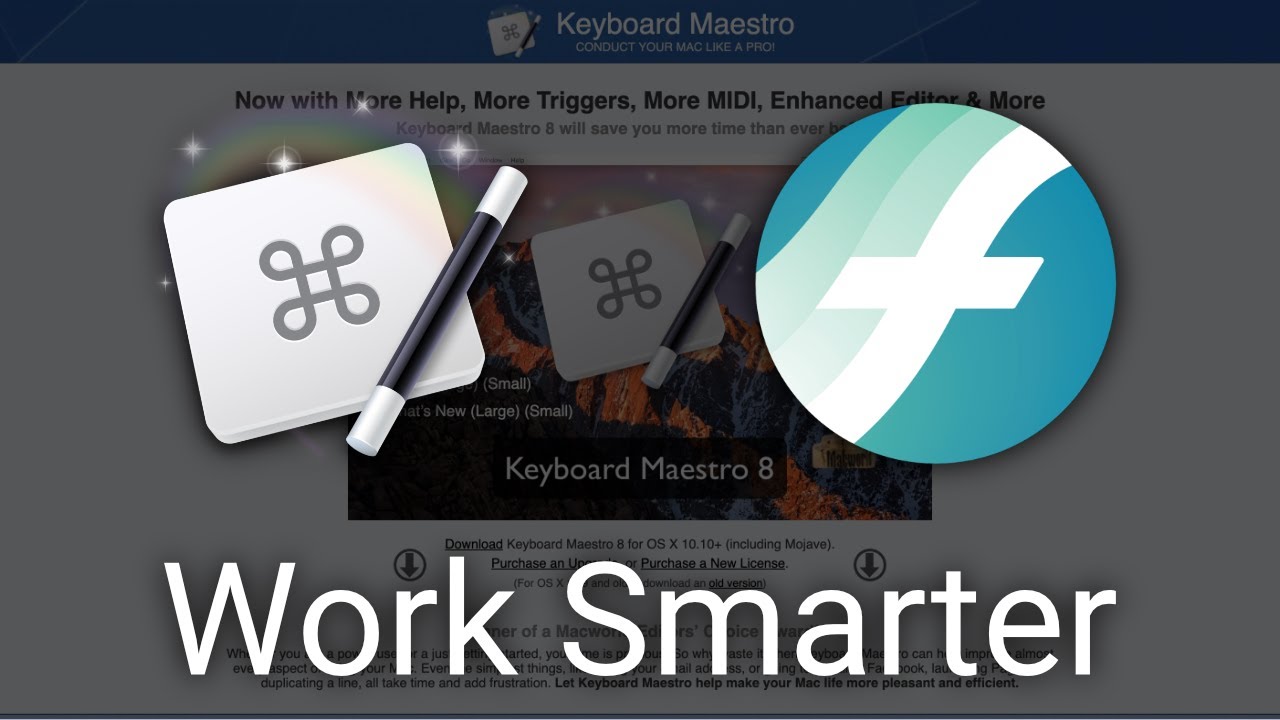 As you’ve read in previous blogs here at Engraver’s Mark Music, I’m a big fan of programs and useful tools that make our jobs as music engravers easier and more fulfilling. Yes, strange as that may sound, finding new tools and developing new skills to complete the basic tasks we all have as engravers is a very satisfying part of the job. One of the tools I’ve mentioned before is Keyboard Maestro (exclusively for Mac, sorry PC folks). This is an unbelievably powerful program that can help automate so many tasks and functions in all sorts of programs. For those of us in the music notation world, it can be a useful alternative to either FinaleScript (for Finale) or anything to reassign hot keys in Mac OS for the specific program you are using (check out my blog post here about this very topic). As with all new software or these kinds of “power-user” tools, the learning curve can be a bit steep and off-putting for new users or those who just don’t want to invest that much effort to “re-invent the wheel.” You can stay only in the specific workflows built into your favorite notation program and be fine. However, there are so many additional options and functions you can unlock with Keyboard Maestro (or other tools mentioned in this blog like JetStream for Finale, or our Tech, Tools and Tips posts). To make Keyboard Maestro more approachable and applicable, the amazing FinaleSuperuser channel on YouTube has made a free course on how to integrate Keyboard Maestro and Finale. Check it out here. This course is AMAZING! It covers topics and techniques from basic concepts all the way to advanced features and will give you all the information, step by step, on how Keyboard Maestro can be used with Finale. Best of all, once you’ve gone through the course, I’m sure, like me, you’ll have new ideas of your own on how to use all the new skills you’ve learned to build your own workflows for Finale. While this course is specific to Finale, I have used some of the concepts to make Keyboard Maestro scripts for various functions in Sibelius as well. It’s a little more difficult using some of these tools in Sibelius as it uses a totally different structure than Finale for the various functions in the program, but it can be done with some trial and error. Ok, lots of errors, but then eventual sweet, sweet success. So, instead of binge watching the latest kitchen make over show or pet competition reality TV (you know who you are), give this series of videos a good look. I made it a point to only go through one chapter of videos at a time until I mastered the concepts therein before moving on and that made the whole process much easier and more enjoyable. As schools as starting back all over the country, why not make this your back-to-school assignment! As always, please contact us at Engraver’s Mark Music if you have any questions or need help with your music engraving project. We offer private Finale instruction as well for $50 per hour. 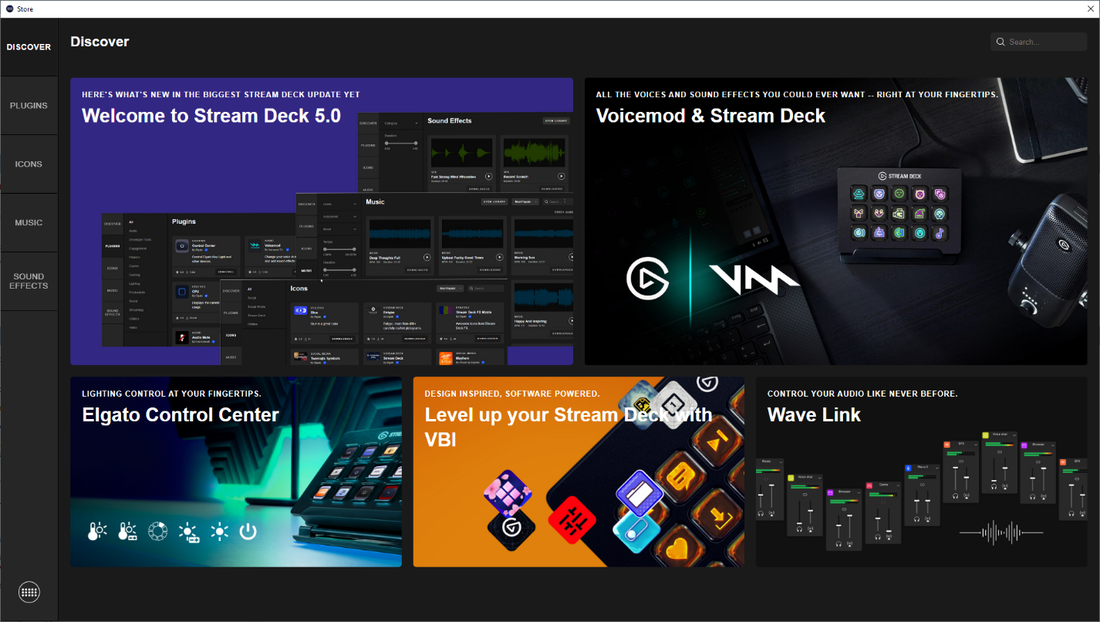 I’ve written before about the uses of the Elgato StreamDeck and Finale (or Sibelius or Dorico) and I wanted to give a quick update to all you out there in the music notation multiverse about some new features I discovered.
|
AuthorSammy Sanfilippo, CEO of Engraver's Mark Music Archives
November 2023
Categories
All
|

 RSS Feed