|
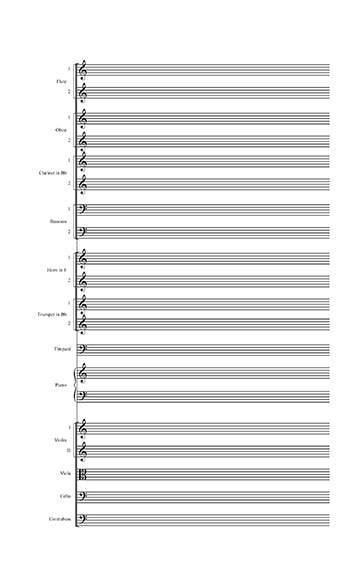
In the first of a two-part series, I wanted to go over some basic ideas, concepts, and issues you want to think about as you create a custom template for your music notation. There are so many topics to consider here that I could not cover them all, however, I do want to go over some the guiding principles as you begin to develop a music notation template.
Whenever you are designing anything, it is best to start with a vision of the end product; how it will be used, what it will look like and how it will function. Smart design means carefully thinking through all your steps with the end in mind. Yes, you will adjust and change your design as you go, but without that clear goal in the beginning, your final product will not fulfill all the purposes you originally intended. In the music engraving world, design, implementing and updating templates is a larger part of any engraver’s day to day work. Every time a new feature is added to a notation software, or a new workflow is developed, it can create new possibilities or challenges that need to be addressed in the templates that we use every day for our clients. By constantly updating the templates we designed, our clients benefit from our increased abilities, capacities, and efficiencies. So, how do you start to design a template in any music notation software? Well, I always start with considering the needs of the end user/customer. Knowing who will be reading and using the music informs all the choices that will be made afterwards as you design the template. Key questions are:
The answers to all these questions will completely change the trajectory of the design of your template since each of these scenarios will necessitate your template having difference features and formats. The next step to is come up with a top-down approach, starting with features like page sizes and staff sizes for the score and parts, instrumentation, font choices and a whole host of other issues. A great place to start for all orchestral music is to study the MOLA Music Preparation Guidelines. This gives a ton of information on industry standard practices and requirements and really does a great job in explaining and giving examples. Choral music has many different requirements, and it is usually best to check with your publisher on what features they will want to see from your music. Once you have all this information, it’s time to start making your score as readable as possible. Before any music is added to your score is the time to make sure the score and part pages have consistent and standardized placements and spaces. Where will the title information and other information be placed? How about the spacing between each staff on the score pages or the distance between the systems for each part? As simple as this sounds, spending time and thought on these basic elements will improve not only the look of your music, but the overall presentation and quality as well. Always aim for consistency and clarity. As always, if you have questions or need some help designing a template for your music, Engraver’s Mark Music is here to help. We have templates ready to go for just about any musical situation or we can create a custom template or modify your existing template. Just contact us and we’ll be happy to help. In the next post in this series, I’ll go over some more specific details and best practices of not only how to set up a good template, but how to use it and what modifications you may want to consider. |
AuthorSammy Sanfilippo, CEO of Engraver's Mark Music Archives
November 2023
Categories
All
|
Proudly powered by Weebly

 RSS Feed